Run a Validator Node
A validator node participates in block production and consensus, requires staking, and must maintain high uptime. Validators can be jailed or slashed for misbehavior.
This guide describes how to install, configure, and operate a validator node on Shardeum EVM mainnet.
1. System Requirements
- Operating System: Ubuntu 22.04 LTS
- CPU: 4 cores (8 threads)
- RAM: 16GB
- Storage: 1TB NVMe SSD
- Network: 100 Mbps dedicated
- Dependencies: git, jq, curl, make, build-essential, pkg-config
- Go: Version 1.25+
Install dependencies:
Install Go:
2. Install Shardeum Node Binary
Build binary (May take several minutes):
Add Go bin directory to PATH:
Verify installation:
Verify binary is accessible:
3. Set Environment Variables
Set the config from the base folder of the source code (shardeum-evm):
4. Initialize the Node
PLEASE ENSURE YOUR KEYS ARE SECURED PROPERLY
Choose identifiers:
Initialize:
5. Copy Genesis File
Copy the genesis file from the repository:
Check that the genesis file has been copied correctly:
Validate the genesis file and check chain ID:
The expected chain ID value is:
6. Start and Sync the Node
Start the node:
7. Check Sync Status
Look for lines similar to:
If the number after height keeps increasing, your node is syncing correctly.
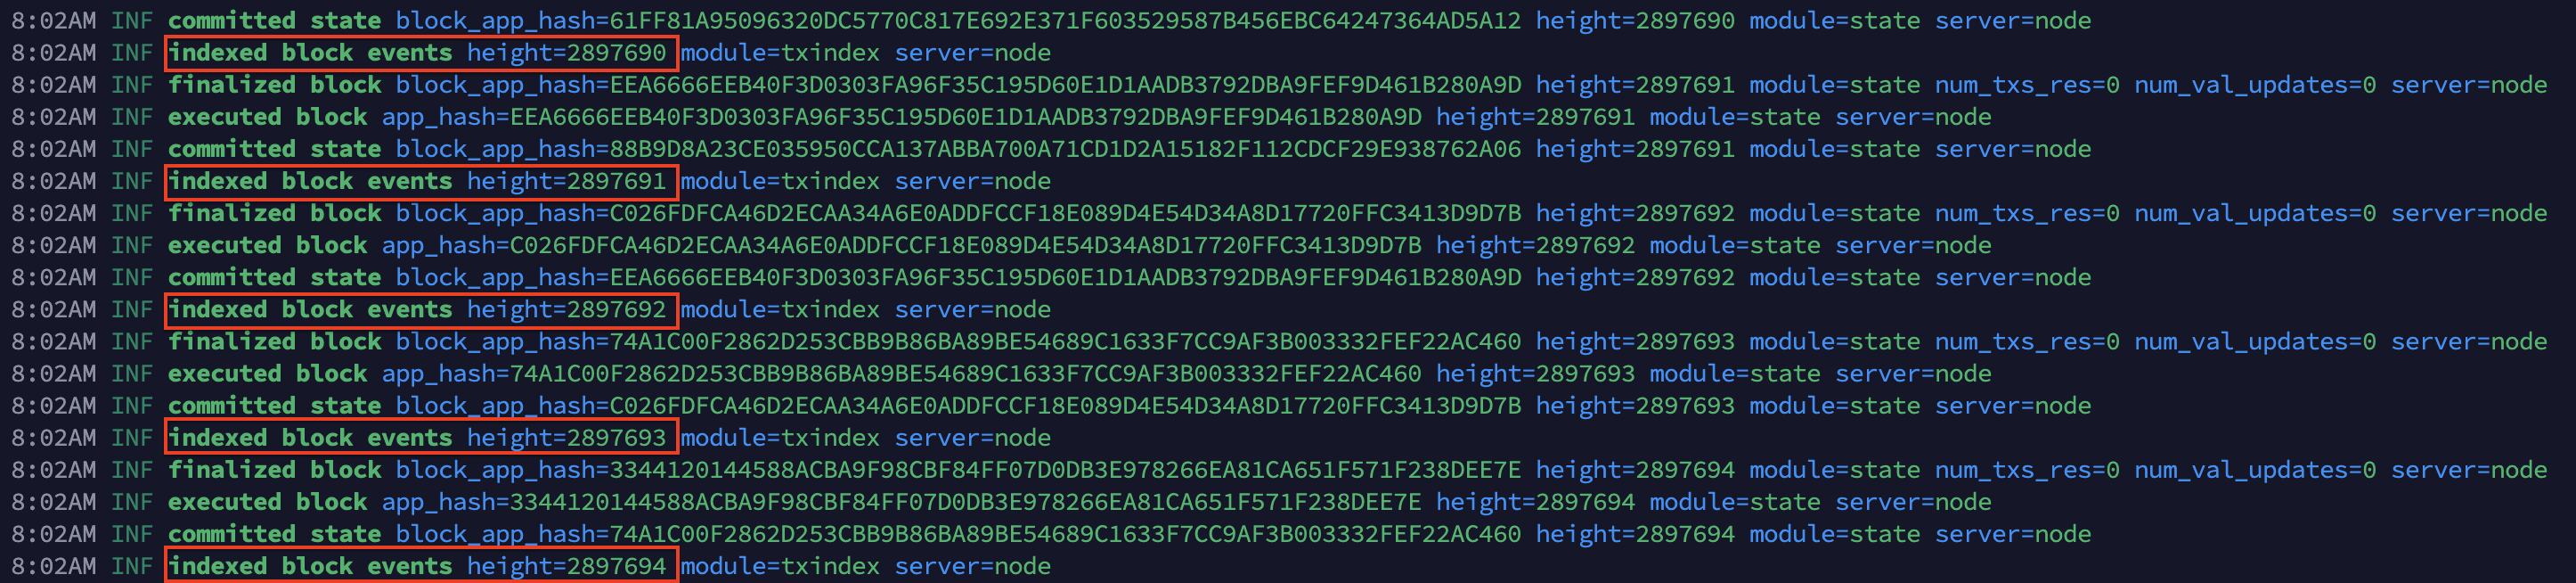
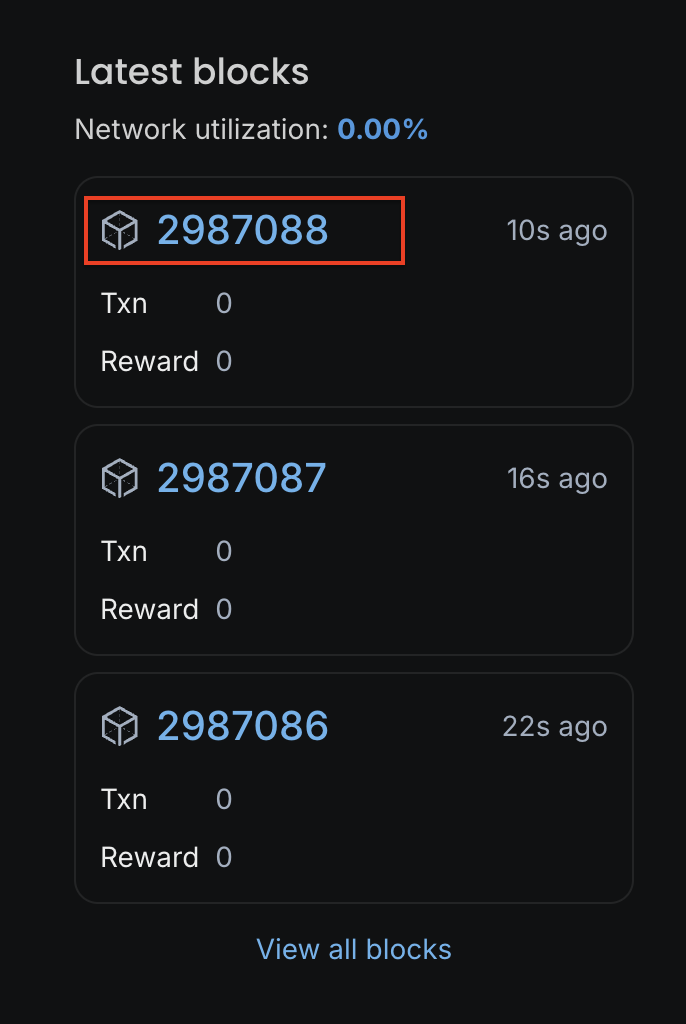
When the height matches the latest block shown on the explorer, your node is fully synced.
8. Create the Validator Key (After Sync)
IMPORTANT: Perform this step only after the node is fully synced.
PLEASE ENSURE YOUR KEYS ARE SECURED PROPERLY
Open a new terminal and move into the repo:
Set the required environment variables:
Create a new validator key:
or restore an existing key instead, use:
You will be prompted to set a password:
CRITICAL: Save your mnemonic phrase securely. It is the only way to recover your validator account.
Retrieve your validator address:
Make sure you store your validator keys using a secure method you trust and follow a backup process you are comfortable with.
9. Fund Your Validator Account
Your validator account must have enough SHM for:
- Minimum stake: 1 SHM
- Gas fees for create-validator: ~1024 SHM
- Total recommended: 1025 SHM or more
Funding Options:
- MetaMask (RPC: https://api.shardeum.org)
- Keplr: Add Shardeum to Keplr (https://chains.keplr.app/) wallet and transfer tokens
- Exchange: Withdraw SHM to your validator address
Verify your balance:
Example output:
10. Create Your Validator and Stake Tokens
Get your validator public key:
Get your validator consensus key:
If your node ID is node0, replace $NODE_ID with node0.
Example output:
Copy the value inside the key. You will need it in the next step.
Create the validator.json file
Open the file:
Paste the following template and replace the key and details as needed:
Optional: Add identity, website, and details
Save and exit:
- Ctrl+O
- Press Enter
- Ctrl+X
Create your validator
Run:
Enter your keyring passphrase when asked.
You will see a full preview of the transaction. The system will then ask:
Type y and press Enter.
A successful result shows:
11. Verify Your Validator Status
Check that the validator is registered:
You should see output containing:
Success indicators:
- Status:
BOND_STATUS_BONDED - Voting power: > 0
- Jailed:
false
For guidance on validator troubleshooting, debugging, monitoring, and performance best practices, continue to the Advanced Operations section.